Want to create your own fake ultrasound for a prank, announcement, or prop? I have made dozens of these over the years, and I am going to walk you through the process. This takes more effort than most people expect, but if you are committed to the DIY route, here is everything you need to know.
What You’ll Learn
By the end of this guide, you will understand:
- What makes ultrasound images look authentic (and what gives fakes away)
- Different methods for creating fake ultrasounds, from simple to advanced
- How to add personalized details like names, dates, and hospital info
- Proper formatting and proportions matching real medical imaging
- Printing and presentation tips for maximum realism
Making a convincing fake ultrasound is harder than most people realize. The ones fooling people require attention to detail beyond slapping some text on a grainy image. But it is doable if you put in the work.
What You’ll Need
Here is your supply list depending on your approach:
For Digital Creation:
- Photo editing software – Photoshop, GIMP (free), or Canva
- Reference images – Real ultrasounds to study (search medical education sites)
- Fonts – Medical-style fonts (often sans-serif, like Arial or similar)
- Time – Expect 2-4 hours for a decent result
For Printing:
- Thermal paper or glossy photo paper – Real ultrasounds use thermal paper
- Quality printer – Color laser or inkjet with photo settings
- Paper cutter – For clean edges (typical size is about 3×4 inches)
Step 1: Research Real Ultrasounds
This is where most DIY attempts fail. People jump straight to making one without understanding what a real ultrasound looks like.
Here is what to study:
Key Elements of Real Ultrasounds:
- Header information – Patient name, date, hospital/clinic name
- Machine data – Model info, settings, probe type
- Measurements – Crown-rump length (CRL), gestational age estimates
- Image characteristics – Grainy texture, specific contrast, sector-shaped viewing area
- Footer data – Timestamp, technician initials, additional measurements
Spend at least 30 minutes looking at various real ultrasound images. Notice how the text is positioned, the exact fonts used, and the overall layout. Real ultrasounds have a specific look, and it differs depending on the gestational age.
For more on this, check out my guide on real vs fake ultrasounds and how to spot the differences.
Gestational Age Matters
A 6-week ultrasound looks completely different from a 20-week scan:
- 6-8 weeks: Small gestational sac, possibly tiny fetal pole, not much detail
- 10-12 weeks: Clear baby shape, head and body visible
- 18-22 weeks: Detailed anatomy scan, profile views possible
Pick a stage fitting your timeline and stick with it. One of the biggest tells of a fake is having development stage details not matching the supposed date.
Step 2: Choose Your Method
You have a few options here, ranging from easy to advanced:
Method 1: Edit an Existing Template (Easiest)
Find an ultrasound template online and modify the text fields. This is the fastest approach but produces the most recognizable fakes.
Pros: Quick, requires minimal skills
Cons: These templates are everywhere. People often recognize them.
Method 2: Photo Editing from Scratch (Intermediate)
Use Photoshop or GIMP to create an ultrasound image from scratch or heavily modify an existing one.
Pros: More customization, harder to reverse-image-search
Cons: Requires photo editing skills, time-consuming
Method 3: Use an App (Easiest but Worst Quality)
There are fake ultrasound generator apps out there, but most of them produce bad results. They work for a quick laugh with close friends who will not look too hard, but not much more.
Pros: Free, instant
Cons: Obviously fake to anyone who looks closely
Method 4: Professional Service (Best Results)
Order from a service specializing in realistic fake ultrasounds. They have the templates, expertise, and equipment to make convincing results.
Pros: Highest quality, customizable, saves hours of work
Cons: Costs money (usually $15-40)
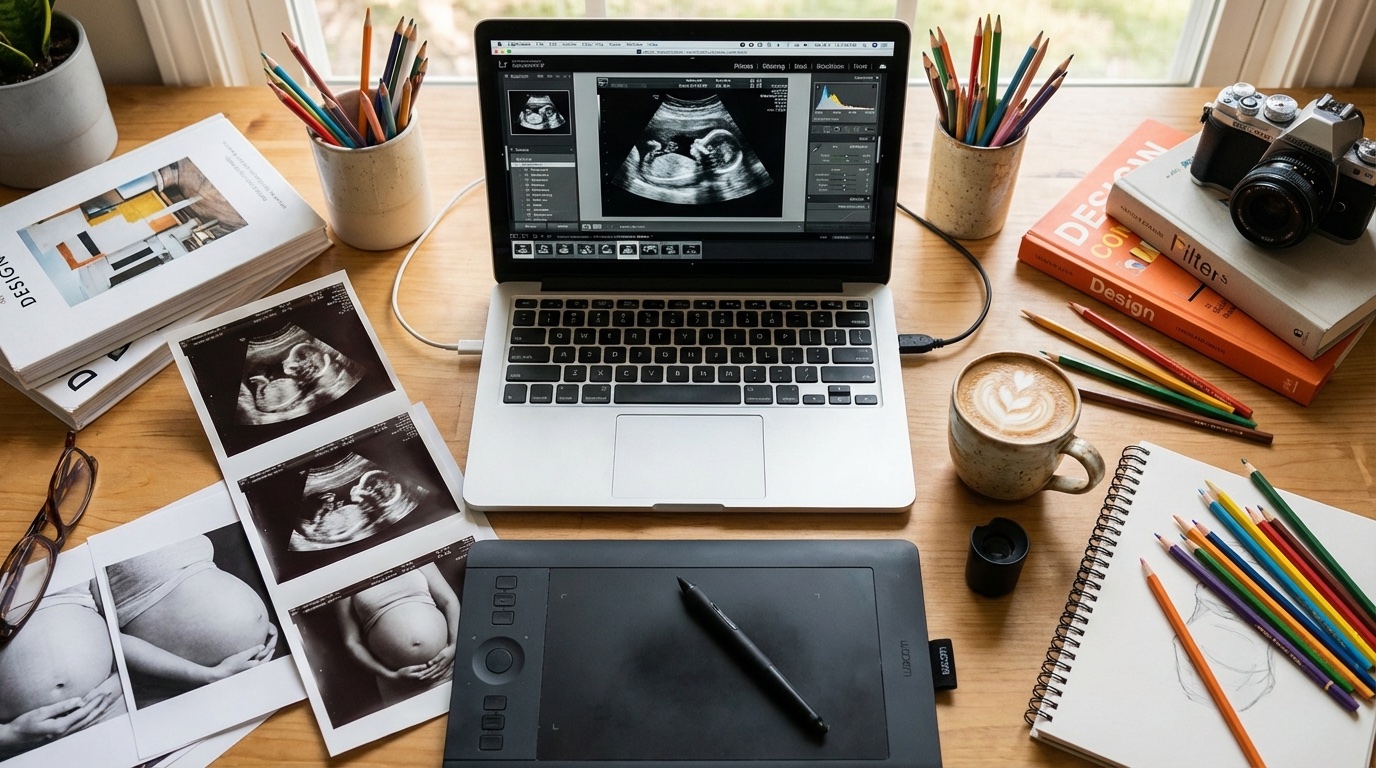
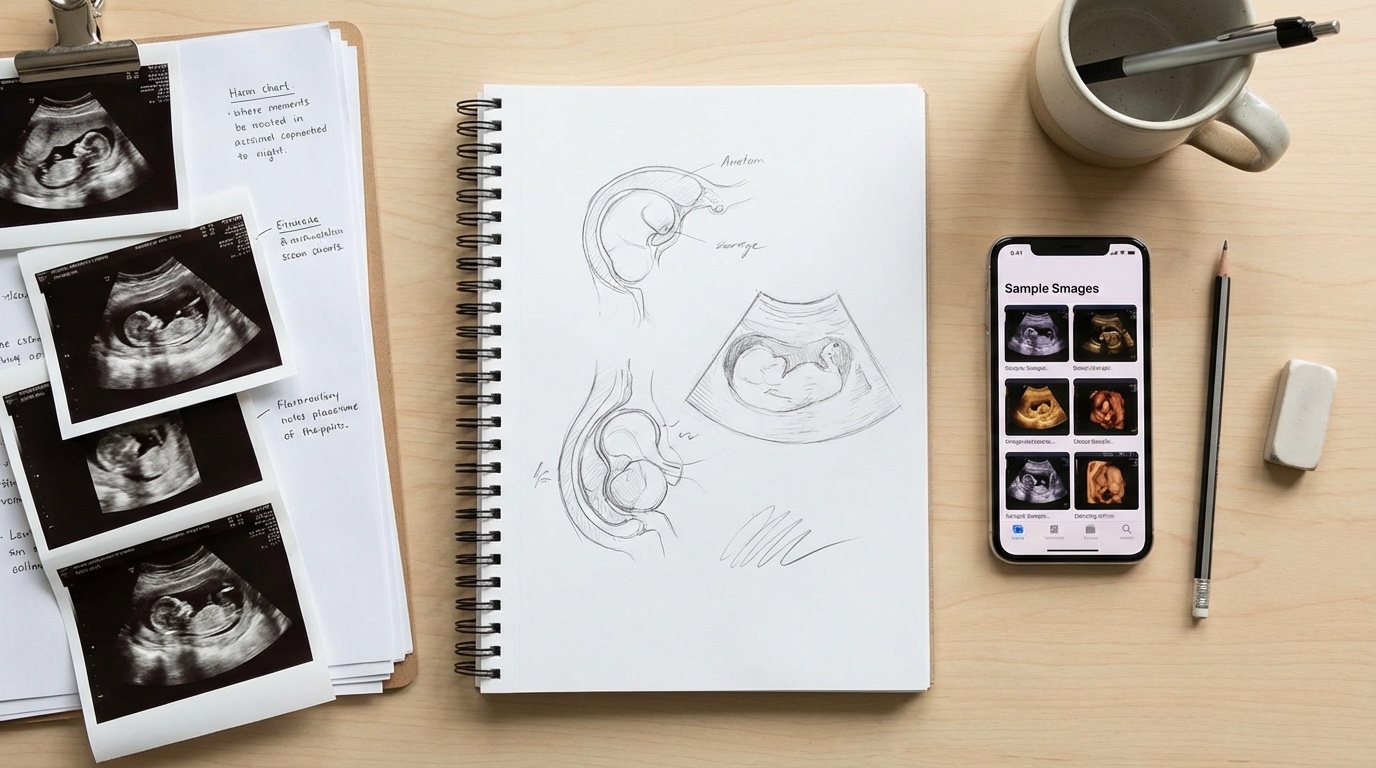
Step 3: Create the Base Image
Let us assume you are going the DIY digital route. Here is how to create the image:
Setting Up Your Canvas
- Create a new document sized around 800×600 pixels (4:3 aspect ratio is typical)
- Fill the background with a dark charcoal gray (#1a1a1a or similar)
- The viewable ultrasound area is usually a truncated sector shape (like a pie slice)
Creating the Ultrasound Image Area
- Create the sector-shaped viewing area in a slightly lighter gray
- Add grain and noise. Real ultrasounds are never perfectly smooth.
- The “baby” shape needs to match the gestational age you chose
- Add the white/light gray highlights forming the baby outline
This is the hardest part. Getting the fetal image to look right requires either significant artistic skill or finding the right source material to work from.
If You Are Modifying an Existing Image:
- Find a source ultrasound image (medical education sites have these)
- Remove all existing text and watermarks
- Match the overall coloring and contrast
- You will add your own text in the next step
Step 4: Add Authentic Details
The text and data overlays determine whether your fake ultrasound looks real or fake. Here is what needs to be there:
Header Section (Top of Image):
- Patient Name: Usually formatted as LASTNAME, FIRSTNAME
- Date of Exam: MM/DD/YYYY format typically
- Facility Name: Hospital or clinic name
- Patient ID/MRN: A believable medical record number
Image Area Overlays:
- Measurement markers: The little + signs showing distance measurements
- Gestational age estimate: “GA: 12w3d” format
- CRL measurement: Crown-rump length in millimeters
Footer/Side Information:
- Machine info: Manufacturer and model (GE, Philips, Siemens are common)
- Probe info: Transducer type and frequency
- Timestamp: Time the image was captured
For a complete breakdown of what to customize and where, see my guide on how to customize your fake ultrasound.
Getting the Details Right
Here is where I see the most mistakes:
- Font size: Text on ultrasounds is small, usually 8-10pt equivalent
- Font color: Usually white or light cyan, never pure white. Slightly off-white looks more authentic.
- Positioning: Text stays in specific zones. Study real examples.
- Measurements: Make sure CRL and gestational age correlate correctly
Step 5: Finishing Touches
Almost there. Here is how to polish your creation:
Final Image Adjustments:
- Add subtle scan lines – Real ultrasounds have faint horizontal artifacts
- Adjust contrast – Do not make it too crisp. Slight softness is normal.
- Add film grain – A light noise layer makes it look more authentic
- Check proportions – Make sure nothing looks stretched or squished

Printing Tips:
How you print matters as much as the design. For detailed printing instructions, check out my printing guide.
Quick tips:
- Use glossy or matte photo paper, not regular printer paper
- Standard ultrasound size is approximately 3″ x 4″ (7.6 x 10 cm)
- Use the highest quality print settings
- Let it dry completely before handling
Common Mistakes to Avoid
I have seen countless DIY fake ultrasounds, and these mistakes pop up constantly:
1. Wrong Proportions
The baby size does not match the stated gestational age. A 12-week fetus is only about 2 inches long. It should not look like a full-term baby.
2. Wrong Fonts or Formatting
Decorative fonts, wrong date formats, or text too large immediately signals “fake.”
3. Too Clean
Real ultrasounds have texture, grain, and slight imperfections. A perfectly crisp image looks artificial.
4. Missing Elements
No measurement markers, missing machine info, or incomplete header data. Real ultrasounds are packed with data.
5. Inconsistent Dates
The exam date, gestational age, and due date estimates need to all line up mathematically. Doctors do this math in their heads.
6. Using Recognizable Templates
Those free templates online? Everyone has seen them. Reverse image search is a thing.
Want more tips on making things look realistic? Check out my guide on how to make a fake ultrasound look realistic.
Or Skip the Hassle…
I have walked you through the whole process because this guide promised to do so. But here is my take: unless you have photo editing skills and several hours to spare, the DIY approach usually does not deliver the results people want.
After making plenty of these myself and seeing what others produce, I recommend ordering from a professional service if you need something fooling people or looking good in photos.
I use Baby Maybe for fake ultrasounds. They handle all the customization, use realistic templates, and the results look legit. Takes about 2 minutes to order vs 2+ hours of DIY work.
For a full comparison of your options, see my review of the best fake ultrasound websites.
Frequently Asked Questions
How long does it take to make a fake ultrasound?
If you are doing it yourself with photo editing software, expect 2-4 hours for a decent result. More if you are learning as you go. Using an app takes minutes but produces lower quality. Ordering from a professional service takes about 5 minutes of your time.
What software is best for making fake ultrasounds?
Photoshop gives you the most control, but GIMP (free) works too. Canva works for basic text overlays but lacks the fine control you need for realistic results. For most people, I suggest skipping software entirely and ordering from a service.
Will people tell if an ultrasound is fake?
It depends entirely on the quality. Cheap apps and obvious templates? Yes, easily. A well-made custom ultrasound from a professional service? Much harder to spot. Medical professionals usually tell the difference, but the average person often does not distinguish a quality fake.
What is the typical size of an ultrasound printout?
Standard ultrasound photos are approximately 3 inches by 4 inches (7.6 cm x 10 cm), though this varies slightly by facility and machine.
Is it hard to add custom names and dates?
The text part is not hard. Making everything look authentic together is tricky. The font, size, positioning, and color all need to match what real ultrasound machines produce. For personalization tips, see my guide to adding your name to a fake ultrasound.
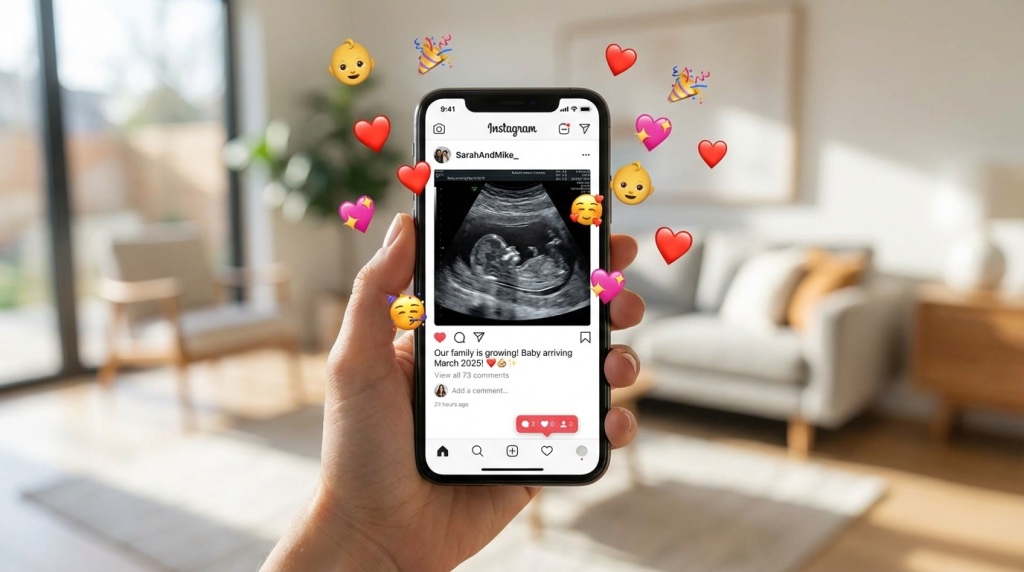
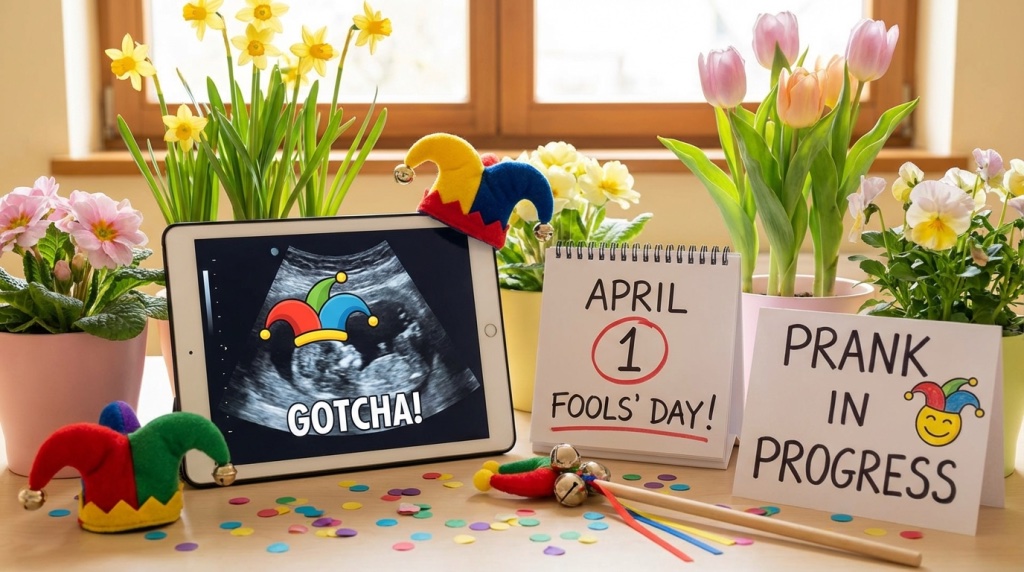
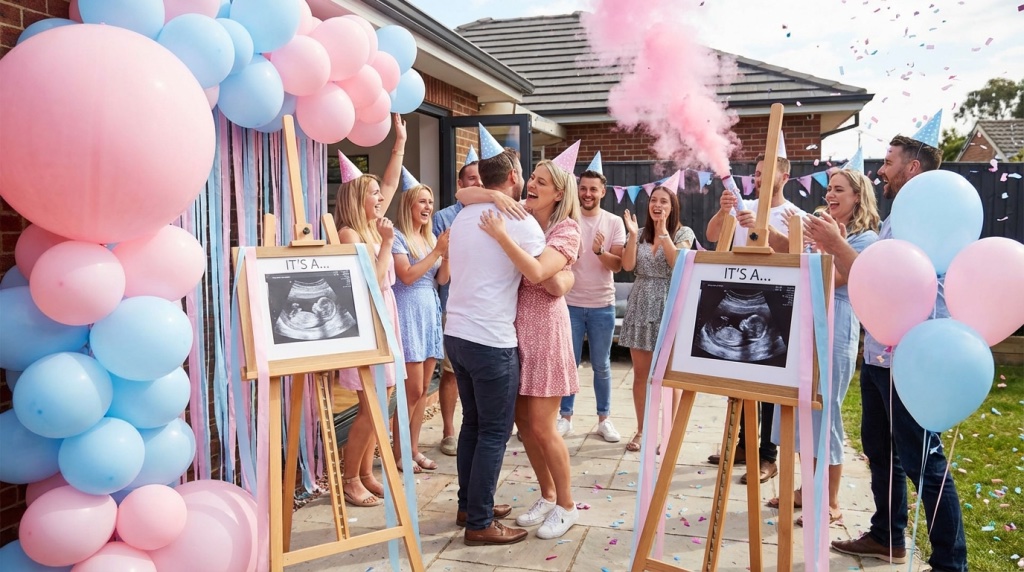
What is the best fake ultrasound method for pranks vs announcements?
For quick pranks with close friends who will not examine it closely, even an app works. For announcements where you are taking photos or want to surprise someone, invest in a quality option. Either significant DIY time or a professional service. See my prank ideas or announcement ideas for more inspiration.
Is making a twins ultrasound possible?
Yes, but it is more complex. Twin ultrasounds have specific positioning and additional measurements. I have written a separate guide to creating fake twin ultrasounds if you are interested.
Related guides you might find helpful: