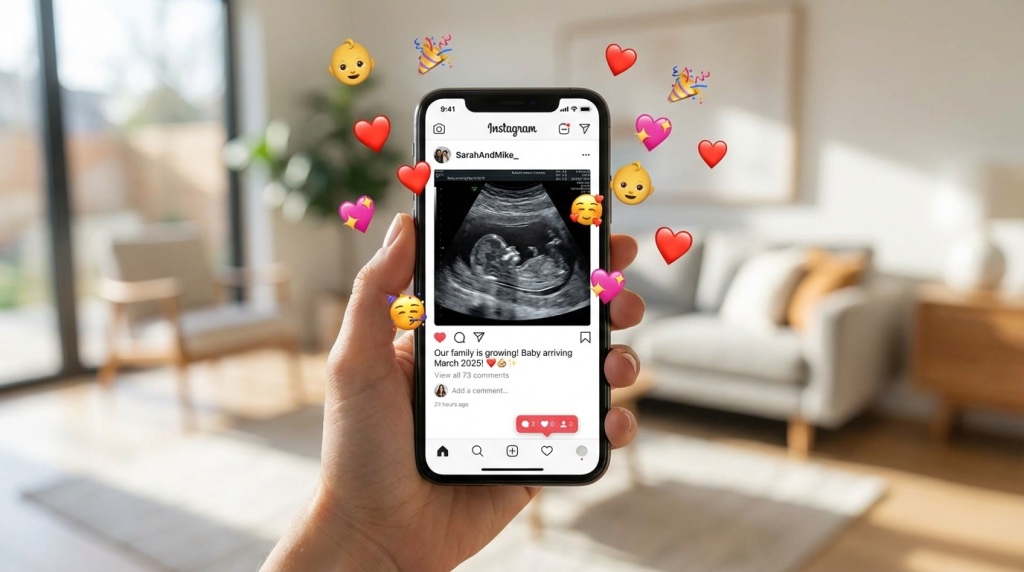
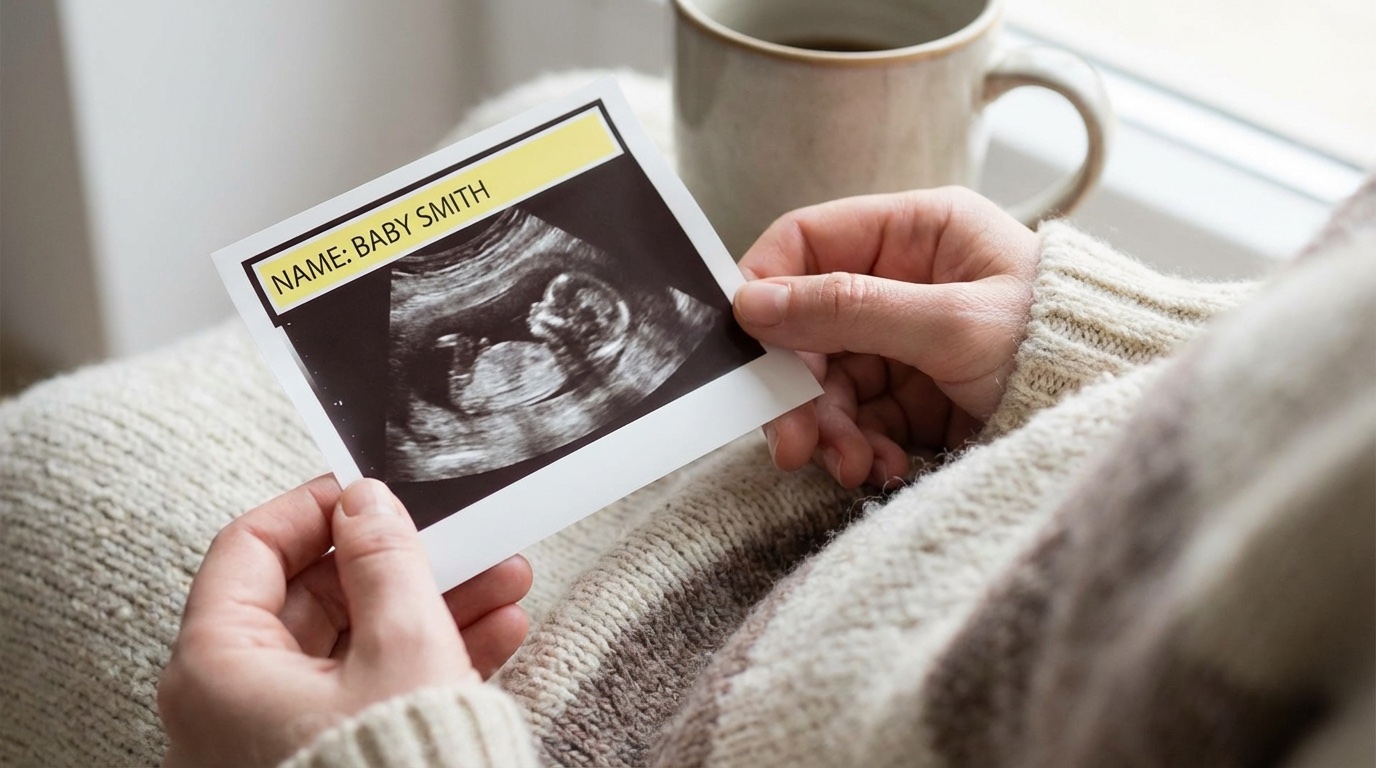
You have got your fake ultrasound, but there is one glaring problem: it says “Jane Doe” at the top instead of your name. Or worse, there is no name at all. If you want your fake ultrasound to fool someone, or look legit for an announcement, getting your name on there is essential.
I have personalized hundreds of fake ultrasounds over the years. Name customization is where most DIY attempts fall apart. The wrong font, weird positioning, or incorrect formatting screams “fake” louder than anything else on the image.
Here is how to add your name to a fake ultrasound the right way.
Understanding Name Placement on Real Ultrasounds
Before you start slapping your name onto a fake ultrasound, you need to understand how real ultrasounds display patient information. Get this wrong, and anyone who has seen an ultrasound will spot the fake immediately.
Standard Information Header Layout
Real ultrasound machines display patient information in a consistent header area, at the top of the image. Here is the standard layout:
| Position | Information | Example |
|---|---|---|
| Top Left | Patient Name | SMITH, SARAH |
| Below Name | Date of Birth | DOB: 03/15/1992 |
| Top Right | Hospital/Clinic | General Hospital |
| Below Hospital | Exam Date & Time | 01/10/2026 14:32:15 |
| Bottom or Side | Gestational Info | GA: 12w3d |
What Information Gets Added
A convincing personalized ultrasound needs more than a name. Here is the full list of patient information shown on a standard scan:
Essential Information
- Patient Full Name: LASTNAME, FIRSTNAME format
- Date of Birth: MM/DD/YYYY format in the US
- Patient ID: A numerical identifier (this one is fictional)
Exam Information
- Exam Date: When the “ultrasound” was performed
- Exam Time: Often includes hours, minutes, seconds
- Facility Name: Hospital or clinic name
- Technician ID: Sometimes shown (optional)
Pregnancy Information
- Gestational Age (GA): Shown as weeks and days (e.g., 12w3d)
- Estimated Due Date (EDD): The calculated due date
- LMP: Last menstrual period date (sometimes shown)
For a detailed breakdown of all customization options, check out my guide on how to customize your fake ultrasound.
DIY Methods for Adding Your Name
If you are determined to add your name yourself, here are the main approaches people try. I will tell you what works and what does not.
Method 1: Photo Editing Software
This is the most common DIY approach. You will need software like:
- Adobe Photoshop (best quality)
- GIMP (free alternative)
- Photopea (free online editor)
- Canva Pro (limited but accessible)
The Process:
- Find a blank or template ultrasound image
- Use the clone stamp or healing tool to remove existing text
- Add a new text layer with your information
- Match the font, size, and color to look authentic
- Export as a high-quality image
The Reality: This takes hours to get right, and unless you have design experience, the results look edited. Font matching alone takes forever.
Method 2: Mobile Apps
There are several apps claiming to create personalized fake ultrasounds. I have reviewed them all in my fake ultrasound app review. Most are terrible. The name customization is often comically bad, with modern fonts looking nothing like real ultrasound text.
Method 3: Online Template Services
Some websites offer templates where you fill in your information. Quality varies wildly. The cheap ones use obvious template fonts, while better services try to match authentic formatting.
Font Considerations for Authenticity
Here is where most DIY attempts crash and burn. Real ultrasound machines use specific system fonts most people do not have access to. Use the wrong font, and your fake is instantly exposed.
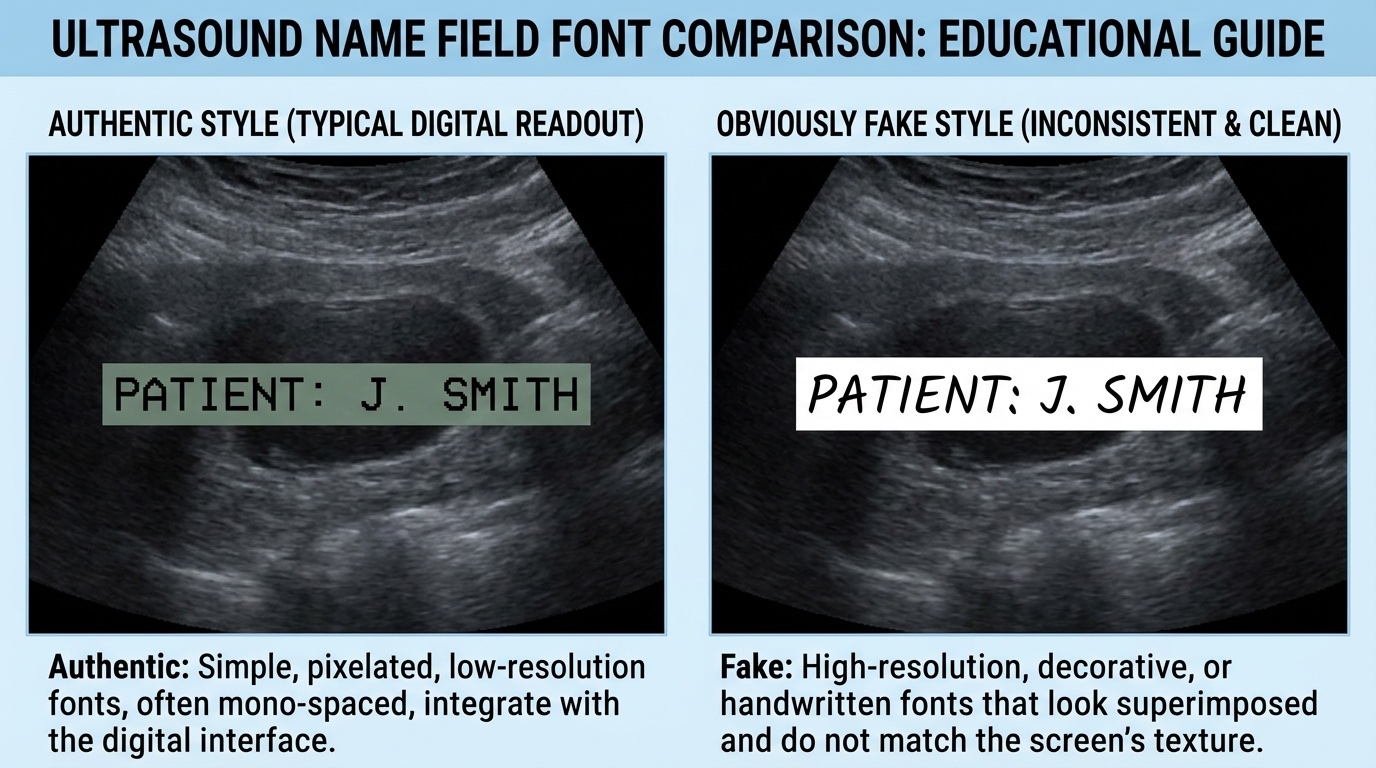
What Real Ultrasound Fonts Look Like
Authentic ultrasound text has these characteristics:
| Characteristic | What It Looks Like | Common DIY Mistake |
|---|---|---|
| Font Style | Monospace or simple sans-serif | Using Arial, Times New Roman, or decorative fonts |
| Case | ALL CAPS for patient info | Title Case or lowercase |
| Color | White or pale yellow/green | Pure white too bright, or random colors |
| Weight | Regular or slightly thin | Bold text looking too heavy |
| Anti-aliasing | Slightly pixelated edges | Smooth text (too clean) |
Fonts to Avoid Completely
These fonts will make your fake obvious immediately:
- Arial (too common, wrong style)
- Times New Roman (wrong category entirely)
- Comic Sans (I hope this is obvious)
- Any script or handwriting fonts
- Modern geometric fonts (like Montserrat, Poppins)
Closer Font Options
If you are doing DIY, these fonts are closer to authentic ultrasound text:
- Consolas
- Courier New (with modifications)
- OCR-A or OCR-B
- Lucida Console
Positioning Tips to Fool Everyone
Getting the position right is as important as the font. Here is what I have learned from years of doing this:
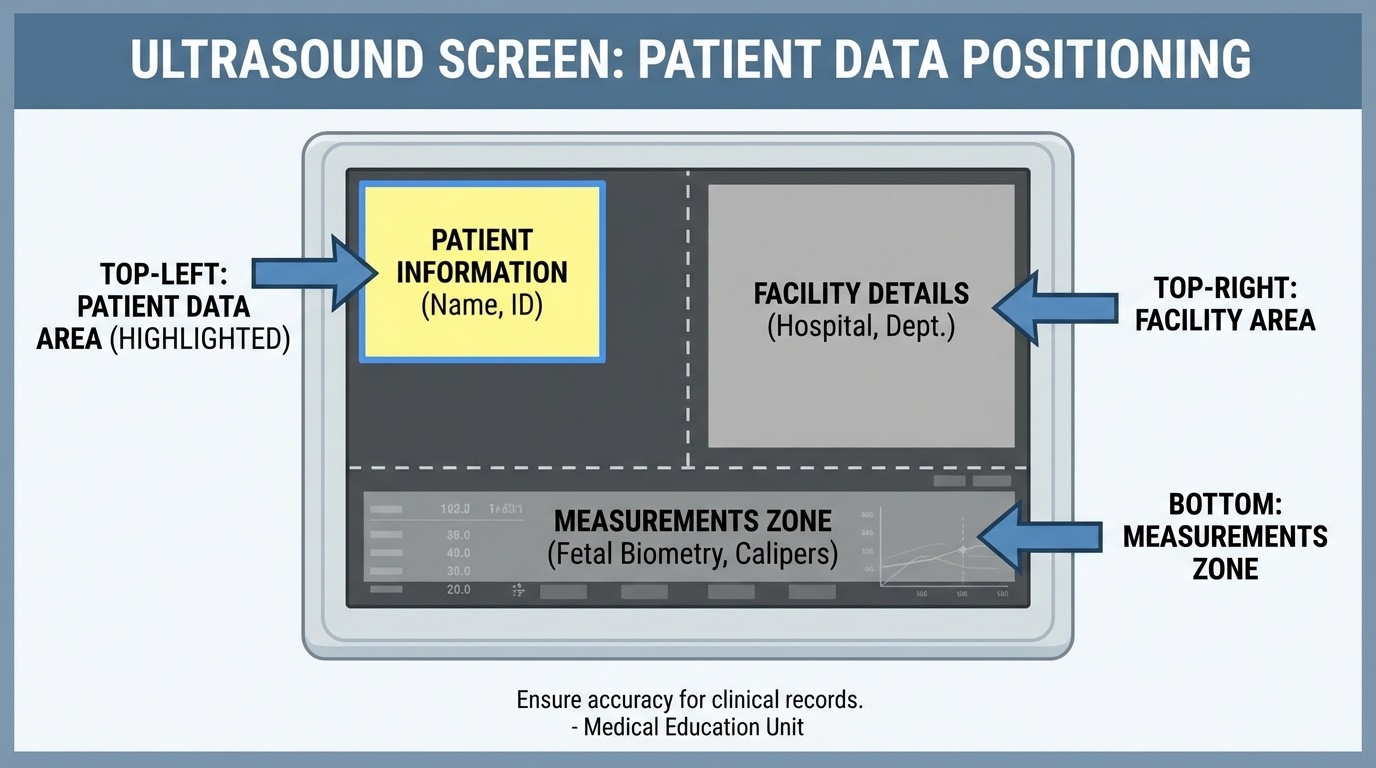
Exact Position Rules
- Name position: Always top-left corner, within the first 10% of the image height
- DOB position: Directly below the name, same left alignment
- Facility name: Top-right corner, aligned with the name on the left
- Date/time: Below facility name or sometimes at the bottom
- Gestational info: On the right side, below the main ultrasound image
Spacing Matters
The spacing between lines of text follows a specific pattern on real ultrasounds:
- Line spacing is tight, at 1.0 or 1.1
- No extra padding or large gaps
- Information is compact, not spread out
Text Should Look Integrated
The text on a real ultrasound is rendered by the machine. It is part of the image, not added on top. When you add text in post, it often looks “floating” above the background. To counteract this:
- Reduce text opacity slightly (98-99%)
- Add minimal blur (0.5px at most)
- Match the overall image quality. If the ultrasound is grainy, text should not be crisp
Common Mistakes to Avoid
I have seen every mistake in the book. Here are the ones giving fake ultrasounds away instantly:
Mistake #1: Modern Fonts
Using sleek, contemporary fonts like those found in most apps. Real ultrasound machines use dated, monospace-style fonts.
Mistake #2: Wrong Name Format
Using “Sarah Smith” instead of “SMITH, SARAH” is a dead giveaway. Medical systems almost always use LASTNAME, FIRSTNAME format in all caps.
Mistake #3: Inconsistent Information
Having a due date not matching the gestational age, or a scan date in the future. These details need to be calculated correctly. If your ultrasound shows GA: 12w3d but the measurements do not match a 12-week fetus, it is obvious.
Mistake #4: Too Perfect
Text too clean, too white, too crisp. Real ultrasound text has a slightly degraded quality to it. It is displayed on old CRT-style screens or thermal printers not producing perfect output.
Mistake #5: Forgetting Secondary Details
Adding a name but forgetting the DOB, facility, date, or patient ID. Real ultrasounds have multiple pieces of information visible.
Mistake #6: Wrong Position
Putting the name in the center, at the bottom, or anywhere other than the top-left corner. Or misaligning it so it is not level with the image edges.
The Easier Way: Professional Services
I have walked you through the DIY process because some people want to try it themselves. But here is the truth: unless you have graphic design skills and hours to spare, the results disappoint.
Professional fake ultrasound services like Baby Maybe Shop handle all the details I have mentioned:
- Authentic ultrasound machine fonts
- Correct LASTNAME, FIRSTNAME formatting
- Proper positioning in the header area
- All supporting information (DOB, facility, dates, GA)
- Consistent calculations that make sense
- Integrated text that does not look “added on”
You enter your details, and they handle the technical stuff. The result looks like it came straight from a hospital ultrasound machine.
Frequently Asked Questions
Will a phone photo editor work for adding my name?
Technically yes, but it will look fake. Phone editors use system fonts and basic tools producing edited results. The text will look “placed on top” rather than integrated into the image.
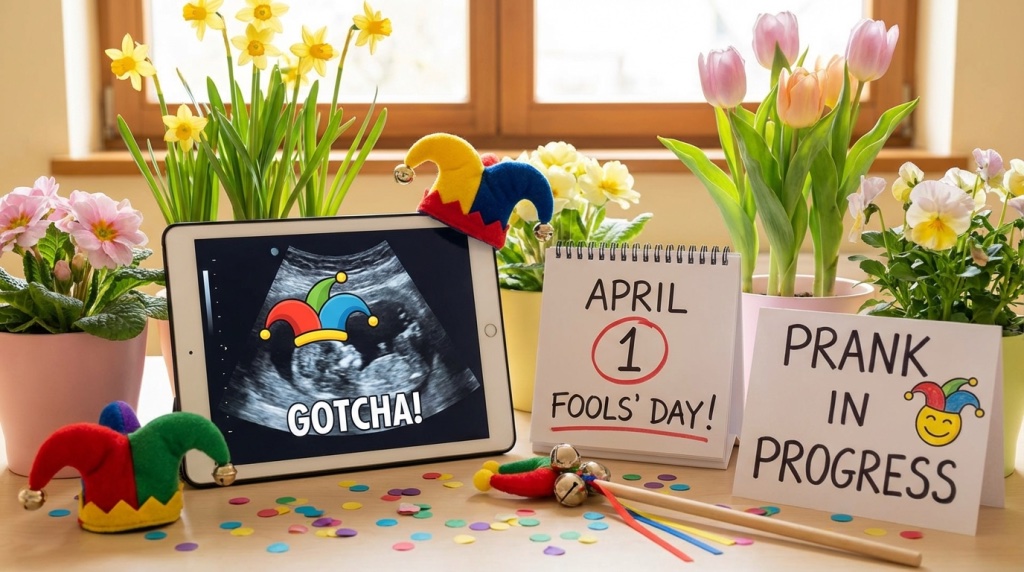
What if I need it for a quick prank?
If it is something quick where people will not examine it closely, a DIY approach works. But if anyone picks it up or looks at it for more than a few seconds, the differences become obvious. For pranks landing well, you want something surviving scrutiny. Check out our prank ideas guide for tips on execution.
Do I need to include all the extra information, or my name alone?
For maximum authenticity, you want all the standard fields filled in: name, DOB, facility, date, time, and gestational information. A blank ultrasound with only a name looks incomplete and suspicious.
How do I figure out the correct gestational age and due date?
These need to be calculated correctly. Pick a date you want the “scan” to have occurred, then work backwards from there. Online pregnancy calculators help. Or let Baby Maybe Fake Ultrasounds handle the math for you.
Is a different name format used for non-US ultrasounds?
Yes, different countries have different conventions. UK and Australian ultrasounds show names differently. If you are mimicking a specific country format, research examples from the region. The best fake ultrasound services often accommodate international formats.
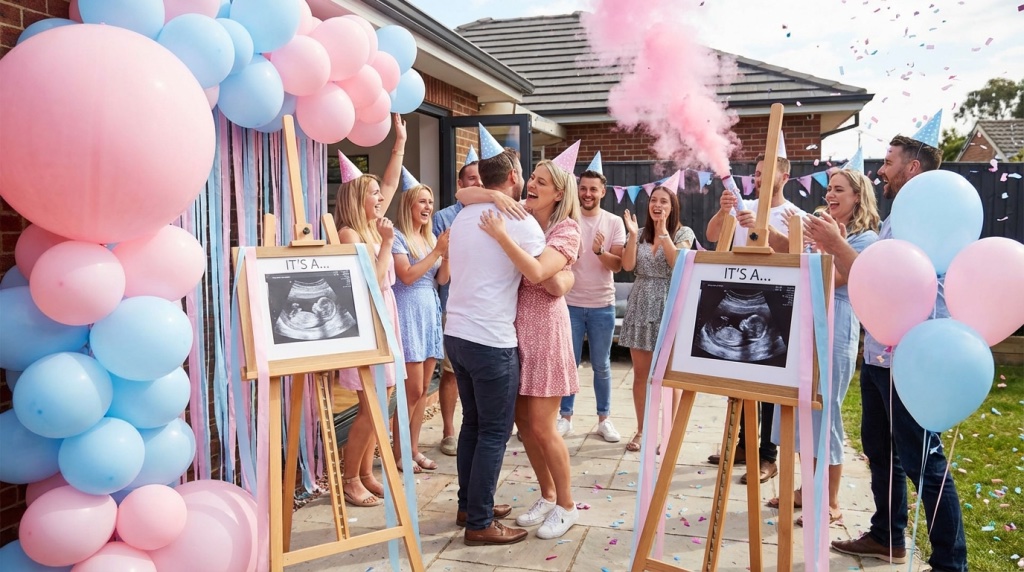
What about adding my name to a twins ultrasound?
The same principles apply. The name goes in the header area regardless of what is shown in the ultrasound image. For twin-specific customization tips, see my guide on fake ultrasound twins.
Wrapping Up
Adding your name to a fake ultrasound is the detail transforming a generic image into something personalized and convincing. Get the font, format, and positioning right, and you will have something fooling people.
The DIY route is possible if you have the skills and patience, but for most people, a professional service saves time and produces better results. Either way, now you know what separates convincing name customization from obvious fakes.
For more personalization options beyond the name, check out my complete guide on how to customize your fake ultrasound, and for tips on making every detail look authentic, see how to make a fake ultrasound look realistic.