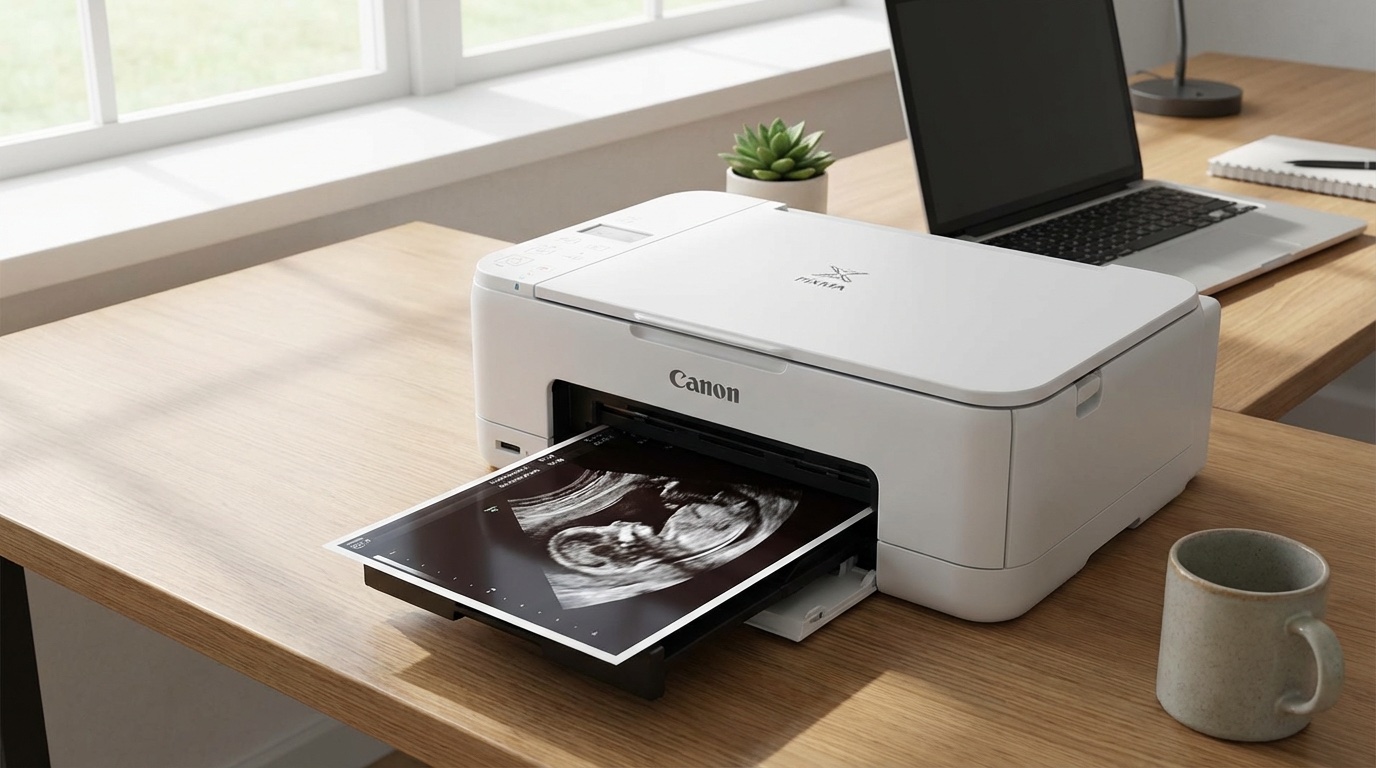
You have got your fake ultrasound file ready to go. Now comes the part where a lot of people mess up: printing it. I have seen so many otherwise great fake ultrasounds get ruined by bad printing choices. Wrong paper, wrong size, wrong settings, and suddenly your realistic design looks like something a child printed at the library.
I have printed hundreds of these over the years, and I have figured out exactly what works. I will walk you through everything you need to know to get a print with a realistic look.
What You Will Need
Before you start, gather these essentials:
- Your ultrasound image file – High resolution (300 DPI minimum) in JPEG or PNG format
- Photo paper – Glossy or semi-gloss finish (I will explain which is best below)
- An inkjet printer – Most home inkjet printers work fine, and laser printers work but produce different results
- Sharp scissors or a paper cutter – For clean edges
Choosing the Right Paper
Paper choice determines the success of your fake ultrasound. Real ultrasounds are printed on thermal paper, which has a specific look and feel. You are not going to perfectly replicate thermal paper at home, but you do get close.
Paper Options Ranked (Best to Worst)
| Paper Type | Realism Score | Best For | Price Range |
|---|---|---|---|
| Thermal paper (specialty) | ⭐⭐⭐⭐⭐ 10/10 | Maximum authenticity | $15-25 for a roll |
| Semi-gloss photo paper | ⭐⭐⭐⭐ 8/10 | Best home printing option | $10-15 for 50 sheets |
| Glossy photo paper | ⭐⭐⭐ 6/10 | Quick pranks, arm’s length viewing | $8-12 for 50 sheets |
| Matte photo paper | ⭐⭐ 4/10 | Not recommended | $8-12 for 50 sheets |
| Regular printer paper | ⭐ 2/10 | Test prints only | $5 for 500 sheets |
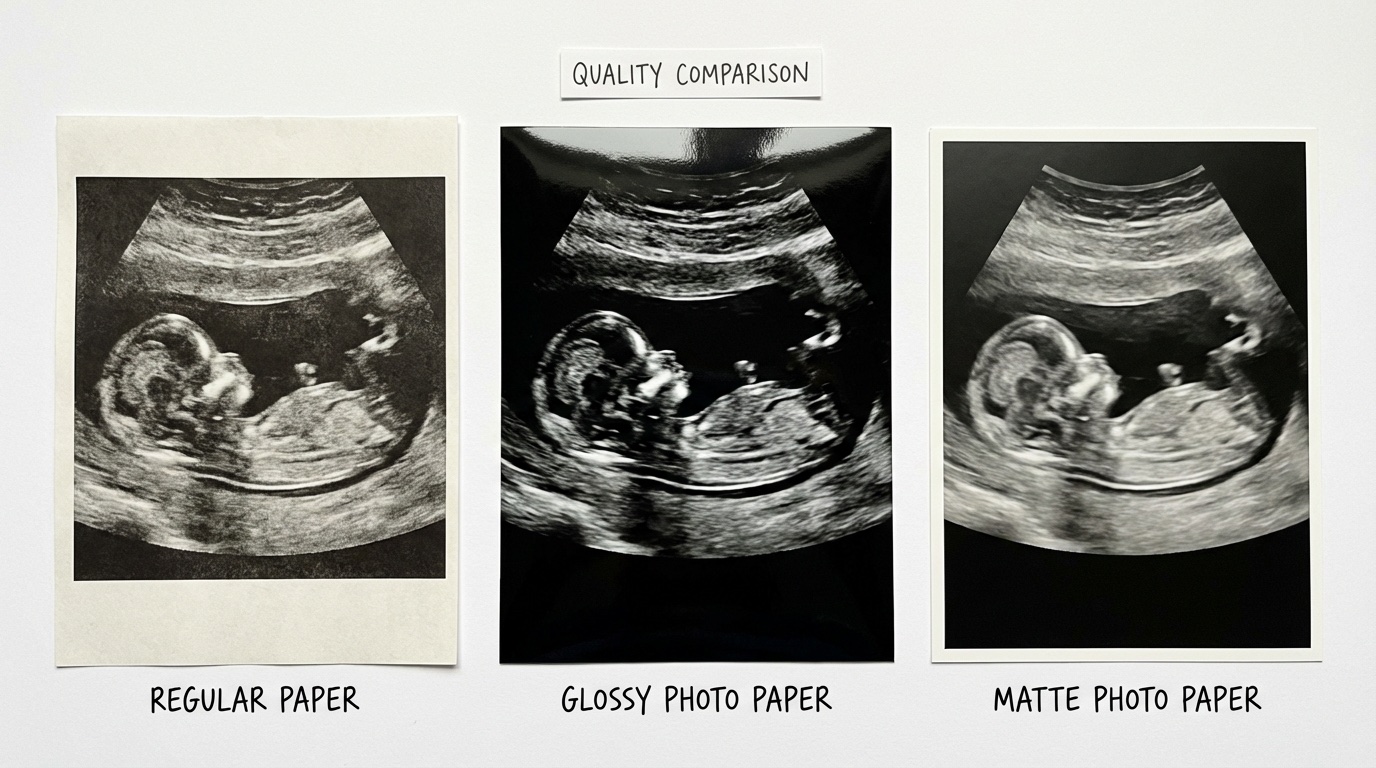
Why Semi-Gloss is My Top Pick for Home Printing
Real ultrasound thermal paper has a subtle sheen, but it is not super shiny like glossy photo paper. Semi-gloss (also called “luster” or “satin” finish) strikes the right balance. It has enough shine to look right without screaming “I printed this at home.”
Full gloss paper hurts your realism because it is too reflective. Real ultrasounds do not have a mirror-like finish.
Standard Ultrasound Size Guide
Real ultrasounds come in specific sizes depending on the machine and clinic. Getting this wrong is one of the fastest ways to get called out. Here are the most common dimensions:
| Ultrasound Type | Dimensions (inches) | Dimensions (cm) |
|---|---|---|
| Standard thermal strip | 6″ × 4″ | 15 × 10 cm |
| Wide format (newer machines) | 8″ × 5″ | 20 × 13 cm |
| Square format | 4″ × 4″ | 10 × 10 cm |
| Mini keepsake size | 3″ × 2″ | 7.5 × 5 cm |
The most common size is 6″ × 4″ (about the size of a standard photo print). This is what most people expect to see, so it is your safest bet unless you have a specific reason to go bigger or smaller.
Printer Settings for Best Results
Your printer settings make a huge difference in the final result. Adjust these settings:
Resolution Settings
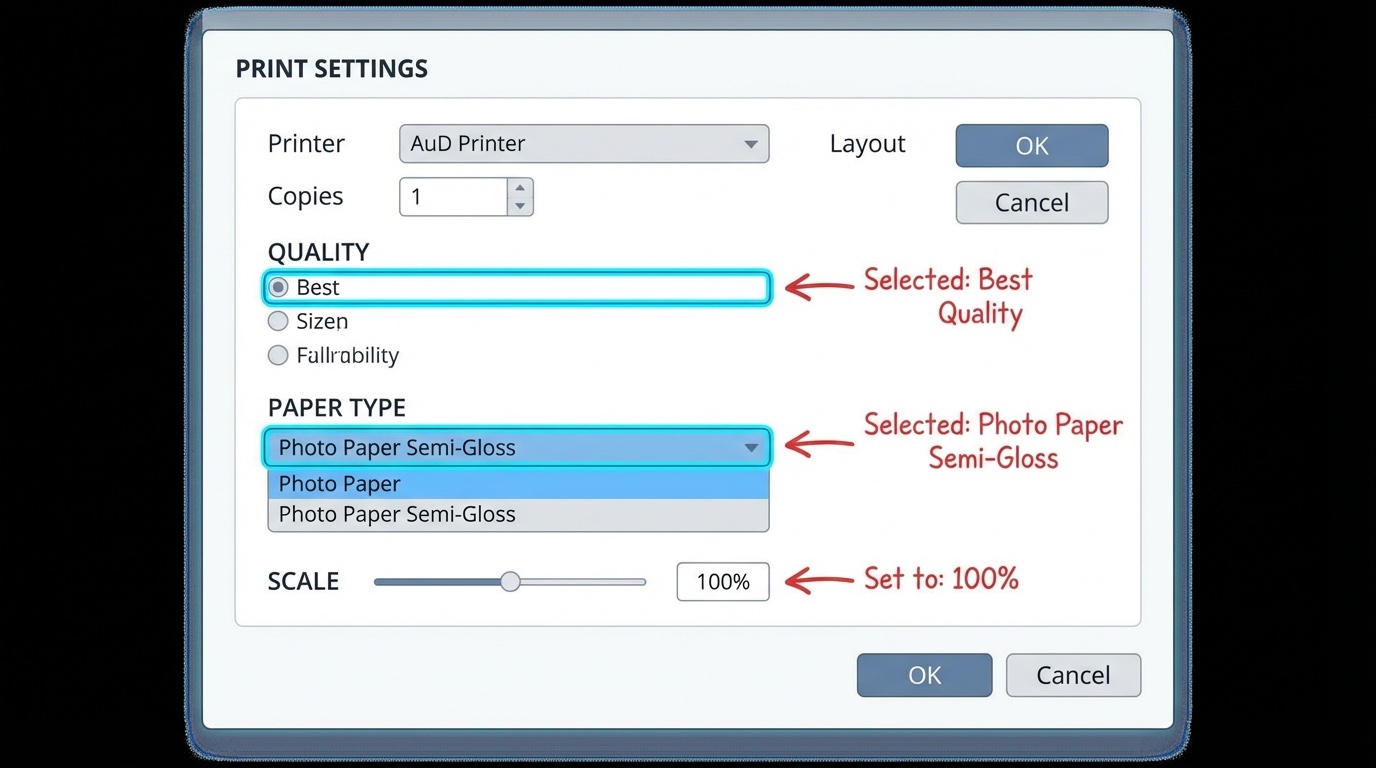
Set your printer to the highest quality available. This is usually called:
- “Best” or “High Quality” in most printer drivers
- “Photo” mode if your printer has it
- 1200 DPI or higher if you set it manually
Paper Type Selection
Always tell your printer what paper you are using. Select:
- “Photo Paper – Glossy” for glossy paper
- “Photo Paper – Semi-gloss” or “Photo Paper – Luster” for semi-gloss
This matters because the printer adjusts ink coverage and drying time based on paper type. Wrong setting = smeared ink or oversaturated colors.
Color Settings
Real ultrasounds have a specific grayscale look, mostly black and white with subtle grays. If your printer has color management:
- Keep it set to “Auto” or “Default” for most cases
- Do not oversaturate or add contrast
- The image should look slightly “flat” because real ultrasounds are not high contrast
Step-by-Step Printing Process
Follow these steps for the best results:
Step 1: Check Your Image File
Before printing, make sure your file is:
- At least 300 DPI (for a 6×4 print, the minimum is 1800 × 1200 pixels)
- Saved as JPEG or PNG (highest quality)
- Not a screenshot. Screenshots are usually 72 DPI and will print blurry
Step 2: Do a Test Print
Always do a test print on regular paper first. Check:
- Is the size correct?
- Are all the details visible?
- Is anything cut off?
Step 3: Load Your Photo Paper Correctly
Photo paper has a printable side (usually the shiny/coated side). Load it:
- Printable side facing the correct direction (check your printer manual, this varies)
- One sheet at a time for best results
- Make sure the paper guides are snug but not too tight
Step 4: Print Without Scaling
In your print dialog:
- Set “Scale” or “Fit” to “Actual Size” or “100%”
- Do not let the printer auto-fit. This stretches or shrinks your image
- Select “Borderless” printing if available and if your image goes edge-to-edge
Step 5: Let It Dry
This is where impatient people mess up. Let your print dry for at least 5-10 minutes before touching it. Inkjet prints smear even when they look dry.
Step 6: Cut Carefully (If Needed)
If you printed on larger paper and need to cut to size:
- Use a paper cutter or sharp scissors
- Cut on a clean, hard surface
- Leave a tiny margin if you are not confident in straight cuts
Common Printing Mistakes to Avoid
I have seen (and made) all of these mistakes. Learn from my failures:
❌ Printing Too Small or Too Large
An oversized or undersized ultrasound is immediately suspicious. Measure a real one if possible, or stick to the 6×4 standard size.
❌ Using the Wrong Paper Orientation
Photo paper has a front and back. Print on the wrong side and it looks terrible: dull, smeared, and obviously wrong. Always check which side is the coated/printable side.
❌ Letting the Printer Scale Your Image
Auto-fit and “shrink to fit” options distort your image or add white borders. Always print at actual size.
❌ Printing at Draft Quality
Draft mode saves ink but produces visible horizontal lines. Always use the highest quality setting for your final print.
❌ Handling Before Fully Dry
Even a tiny fingerprint ruins an otherwise perfect print. Wait at least 5 minutes, longer in humid conditions.
❌ Storing Improperly
Do not stack prints on top of each other or leave them in direct sunlight. Store flat in a cool, dry place, or keep in an envelope like a real ultrasound.
Troubleshooting Print Issues
Print Looks Blurry or Pixelated
Your source image is too low resolution. You need at least 300 DPI for a crisp print. If your image is blurry, no amount of good printing will fix it. You will need a higher quality source file.
Colors Look Off
Make sure your monitor is roughly calibrated and you selected the correct paper type in printer settings. If your print looks too dark or too light, adjust the brightness slightly in an image editor before reprinting.
Print Has Lines or Streaks
Your print head needs cleaning. Most printers have a built-in cleaning function in the maintenance settings. Run it once or twice and try again.
Edges Are Blurry But Center Is Sharp
Your paper is not sitting flat. Make sure it is loaded properly and the guides are not forcing it to bend.
Ink Is Smearing
Either you are using the wrong paper type setting, the paper is loaded backwards, or you are not waiting long enough for it to dry. This also happens when your paper is not compatible with your printer type (inkjet vs laser).
Frequently Asked Questions
Can I use a laser printer instead of inkjet?
Yes, but the results are different. Laser prints have a flatter, more “sealed” look that some people find less realistic. Inkjet on photo paper tends to look more like actual thermal prints. If laser is your only option, use smooth paper, not textured.
What is the best brand of photo paper?
For semi-gloss, I have had good results with HP Everyday Photo Paper (Semi-gloss), Canon Photo Paper Plus Semi-Gloss, and Epson Premium Photo Paper Semi-gloss. They are all reasonably priced and work with most inkjet printers.
Do home printers work with thermal paper?
No. Thermal paper requires a thermal printer, which most people do not have. This is why professional services printing on real thermal paper are worth considering if authenticity is important to you.
How do I print if I only have a phone (no computer)?
Most modern printers support printing from your phone via WiFi or an app. Check if your printer has Apple AirPrint support (iPhone) or Google Cloud Print / manufacturer app (Android). The quality matches printing from a computer.
Should I laminate my fake ultrasound?
No. Real ultrasounds are not laminated. Laminating will immediately make it look fake. If you want to protect it, slide it into a clear sleeve or frame it behind glass.
The print looks good but the paper feels wrong. Any tips?
Real thermal paper has a specific texture that is hard to replicate. Semi-gloss photo paper is the closest, but if someone handles it, they notice the difference. For situations where people will touch it, consider ordering from a service like Baby Maybe Fake Ultrasounds that uses real thermal paper.
How many test prints should I do?
At least one on regular paper to check size and positioning. If you are new to photo printing, do one test on photo paper too before printing your final version. Photo paper is not expensive, and it is cheaper than wasting your time on a botched final print.
Related Guides
Now you know how to print, so make sure your ultrasound is worth printing:
- How to Make a Fake Ultrasound – Start here if you need to create your image
- How to Make a Fake Ultrasound Look Realistic – Details to review before you print
- Best Fake Ultrasound Websites – Get a professional image to print
- Complete Fake Ultrasound Guide – Everything you need to know